Introduction
Chromebooks have become increasingly popular in recent years due to their affordability, simplicity, and their ability to store files in the cloud. However, there might be situations where you need to use an external drive for storing larger data or simply for convenient file transferring. Understanding how to use an external drive with a Chromebook is essential for users who want to expand their storage capabilities or have a backup of their files.
Why use an external drive with a Chromebook?
1. Increased storage capacity: Chromebooks typically have limited internal storage, making an external drive an excellent solution for users who need more space for files, multimedia content or software installations.
2. Portability: By keeping files on an external drive, users can easily access and share their data across multiple devices.
3. Backup and security: Storing copies of important files on an external drive ensures data protection against loss due to hardware failure or theft.
Connecting an external drive to your Chromebook
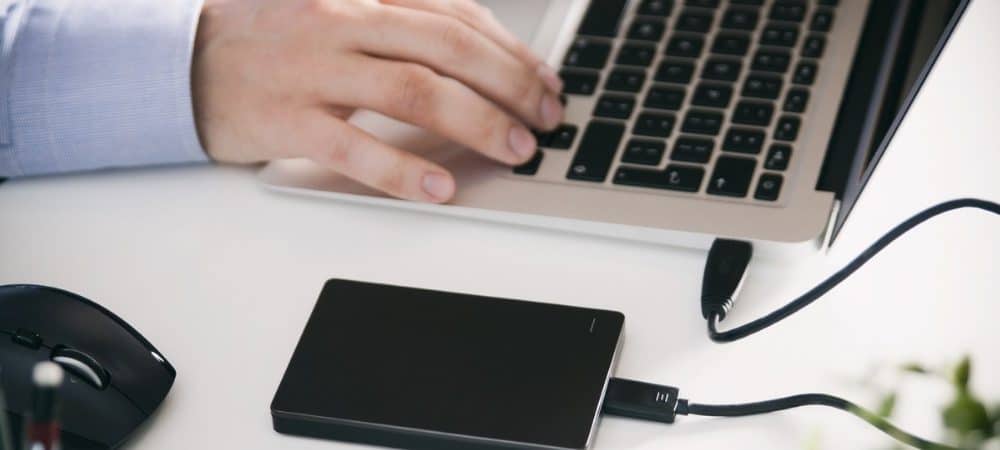
1. Connect the external drive: Use the appropriate cable (USB or USB-C) to connect the external drive to your Chromebook. Ensure that the cable is properly inserted into both the Chromebook and the external drive.
2. Access the Files app: Once connected, your Chromebook will automatically detect the external drive. Open the built-in Files app on your device.
3. Select your connected drive: Within the Files app, you should see your connected external drive under “My Files” or “External Storage”. Click on it to view its contents.
4. Transfer files: Now, you can transfer files between your Chromebook and the connected drive by clicking and dragging them between folders or using copy-paste commands.
Tips for using an external drive with a Chromebook
1. Format compatibility: Before purchasing or using an external drive, make sure it supports Chrome OS file systems such as FAT32, NTFS or exFAT. Most modern drives are compatible, but it’s always good to double-check.
2. Keep your Chromebook up to date: Ensure your Chromebook’s operating system is updated regularly so that it can effortlessly access, read and write files on external drives.
3. Eject the drive safely: Before disconnecting the external drive from your Chromebook, right-click on its icon in the Files app and click “Eject” or “Safely remove”, preventing any data corruption.
Conclusion
Learning how to use an external drive with a Chromebook is simple and can significantly expand your device’s storage capabilities. It gives you the flexibility to carry your important files wherever you go, making it a valuable addition to any Chromebook owner’s arsenal. Remember to choose a compatible external drive and always keep your Chromebook updated for optimal performance and convenience!